CASE STUDY 1
high end hair advertising key visual | retouch & colorization
This image has been kindly provided by beauty and fashion photographer Ava Pivot.
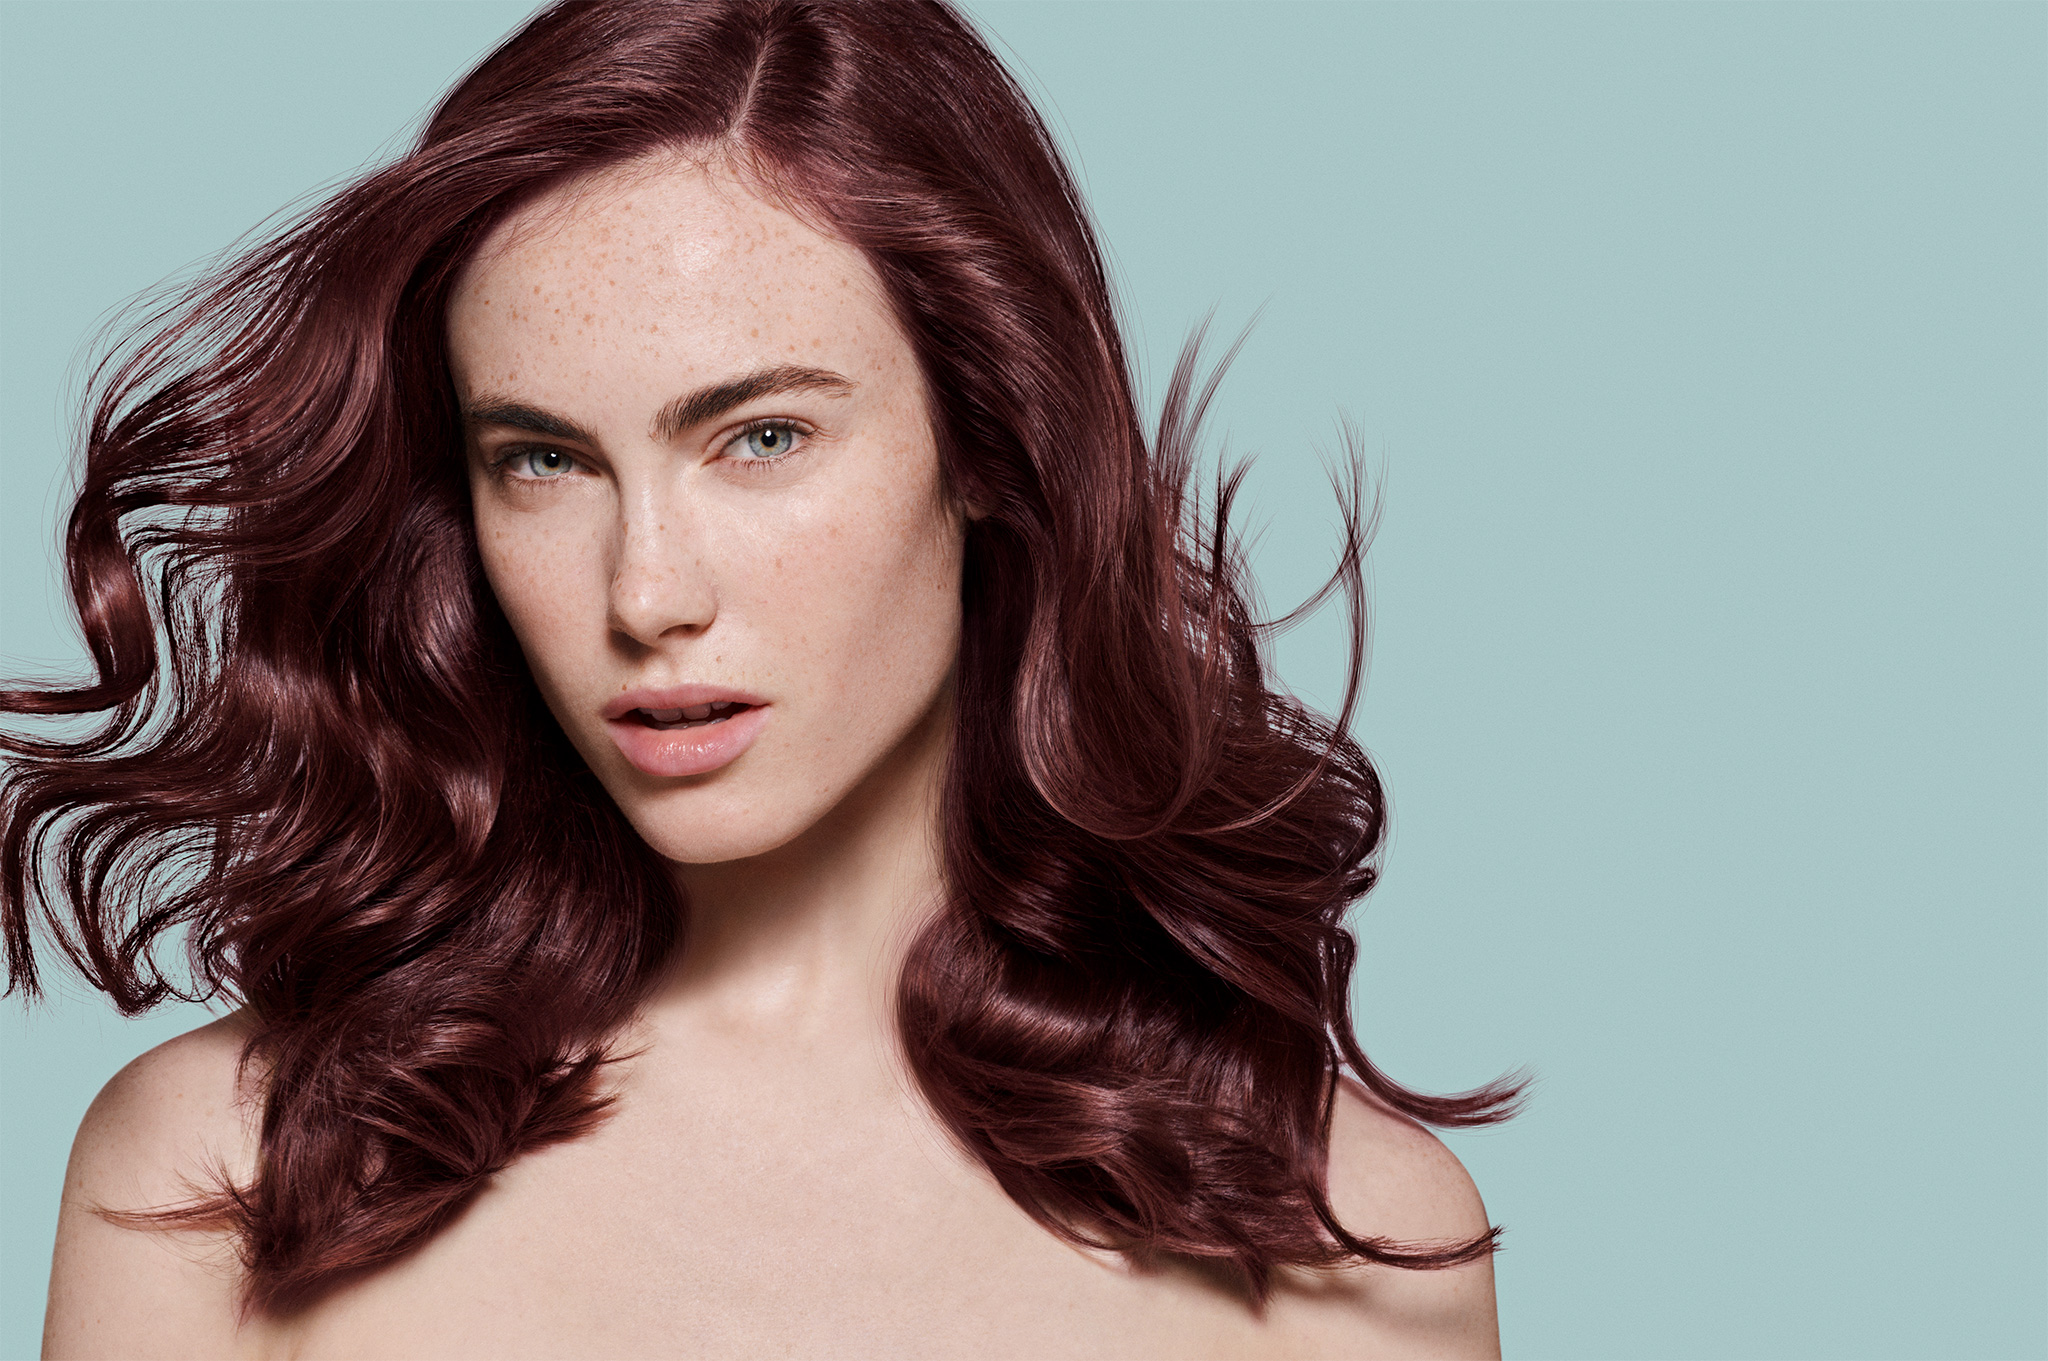
final image
general idea / briefing
This image has been chosen to create a high end key visual for a hair product brand, show casing the new colorization. The model shot needs to be retouched and prepared, in order to fulfill the requirements of becoming a key visual for the advertising campaign. The background needs to be extended, so that the key visual can work in all needed format adaptions for print, packaging and online communication.
It is essential, to retouch the skin in a very natural and subtle way, taking out temporary imperfections, while remaining the natural skin texture. All distracting flying and cross hairs are due to be removed. Areas of hair that are too wild, need to be calmed by recreating hair outlines on the body or at the fringe of the hair.
In general it is mandatory, to mask out every important part of the image, like the model itself, the skin, the lips, the eyes and the hair. By having pristine masks available, I am empowered to balance out tones, colors and to guide the viewers eye through the visual. By having an excellent hair masks created with a multitude of techniques, I can then colorize the entire hair into the desired color.
The advertising campaign key visual in finished with a matching background color.
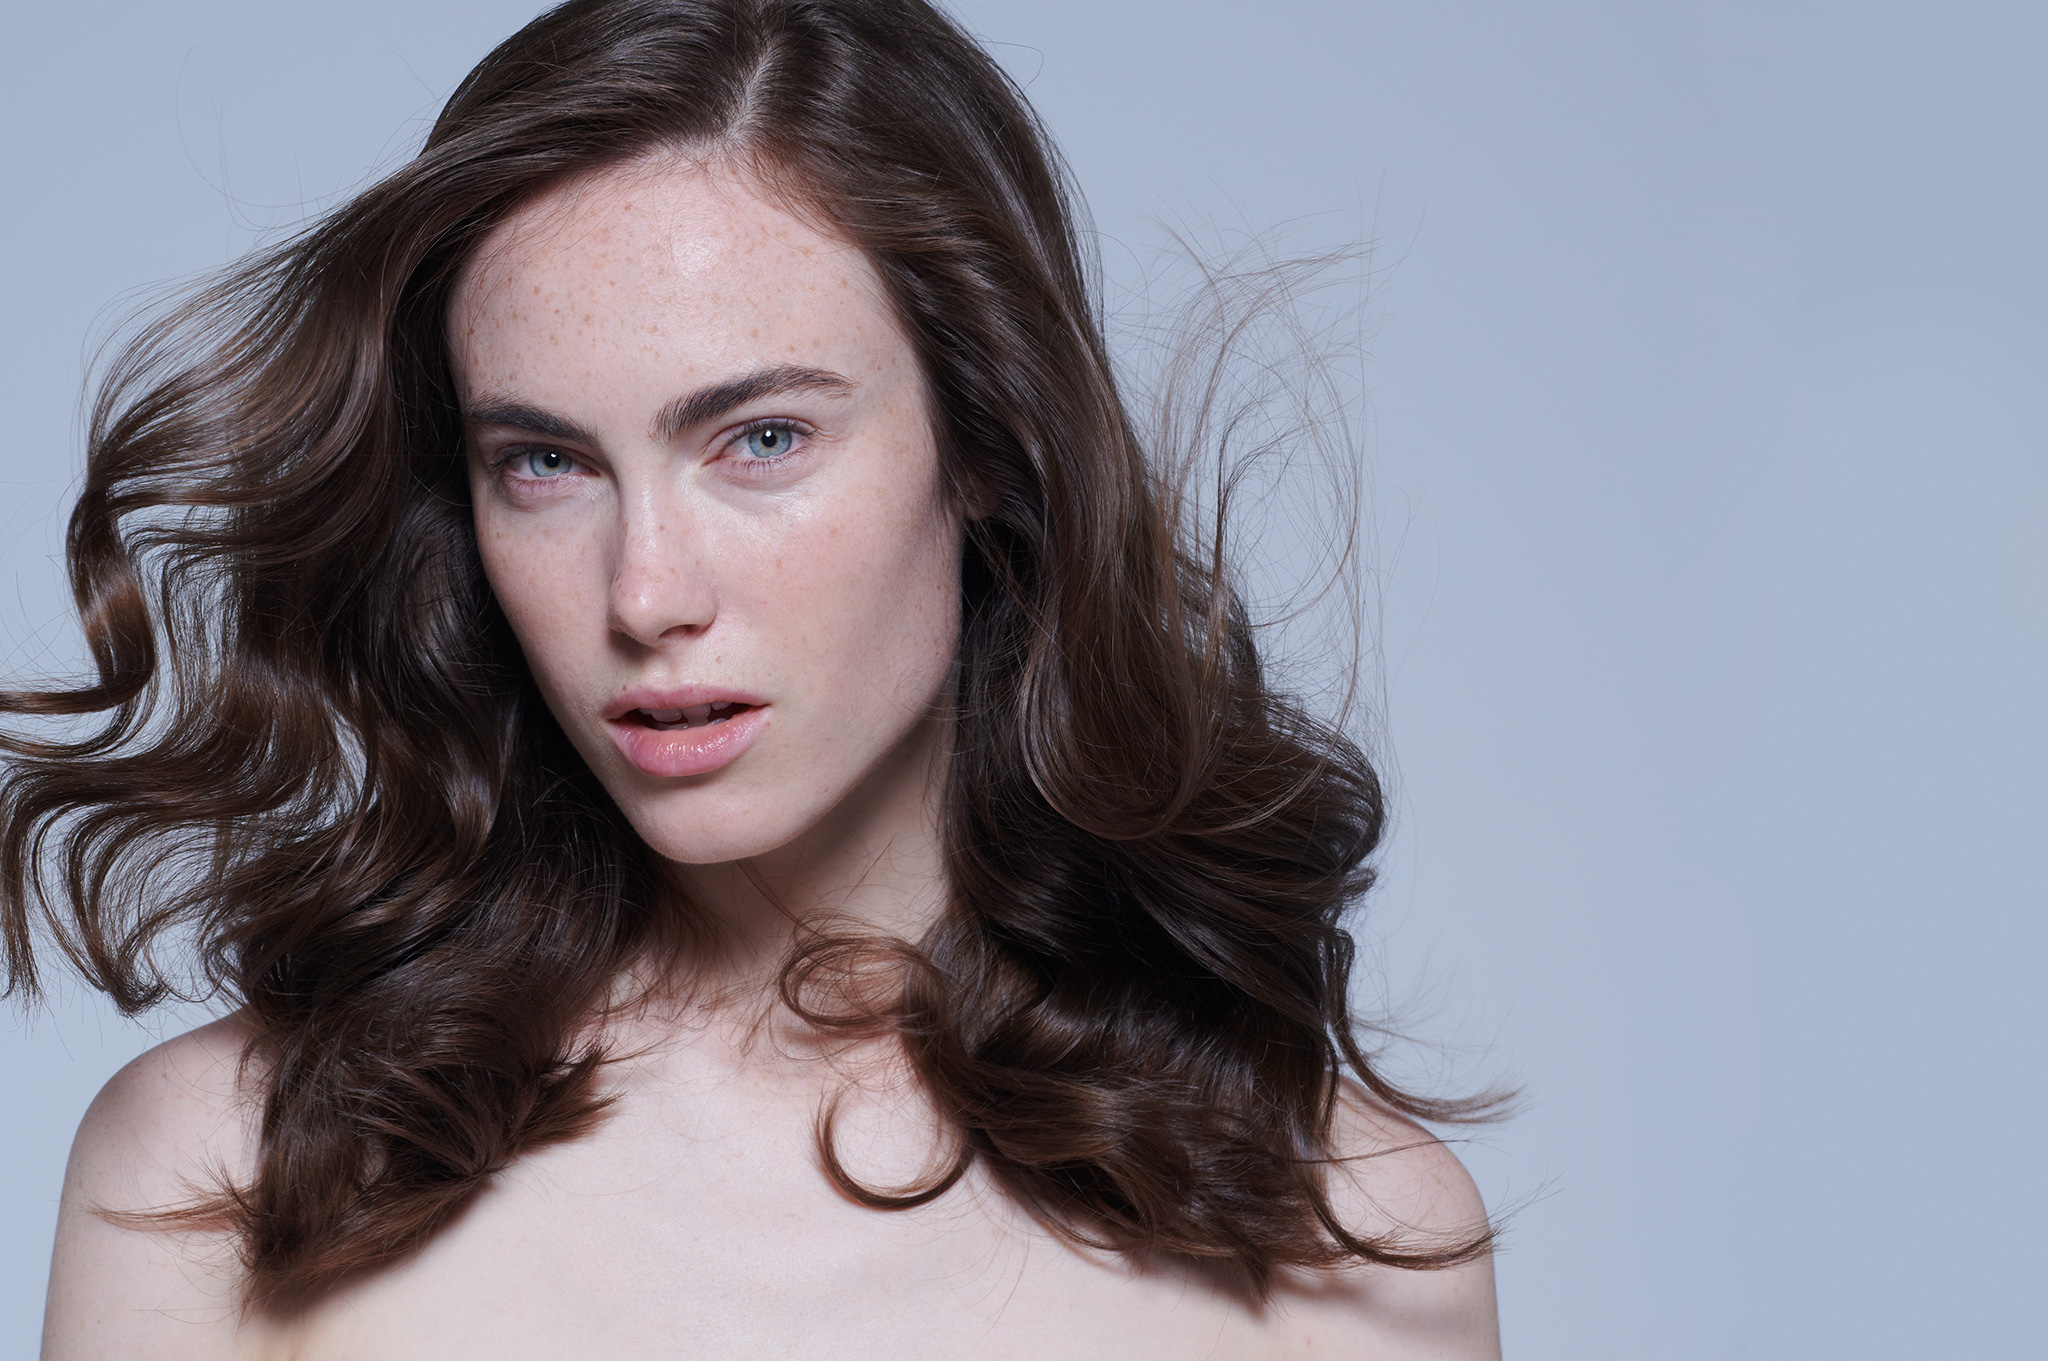
original RAW
first step - raw conversion in Capture One Pro
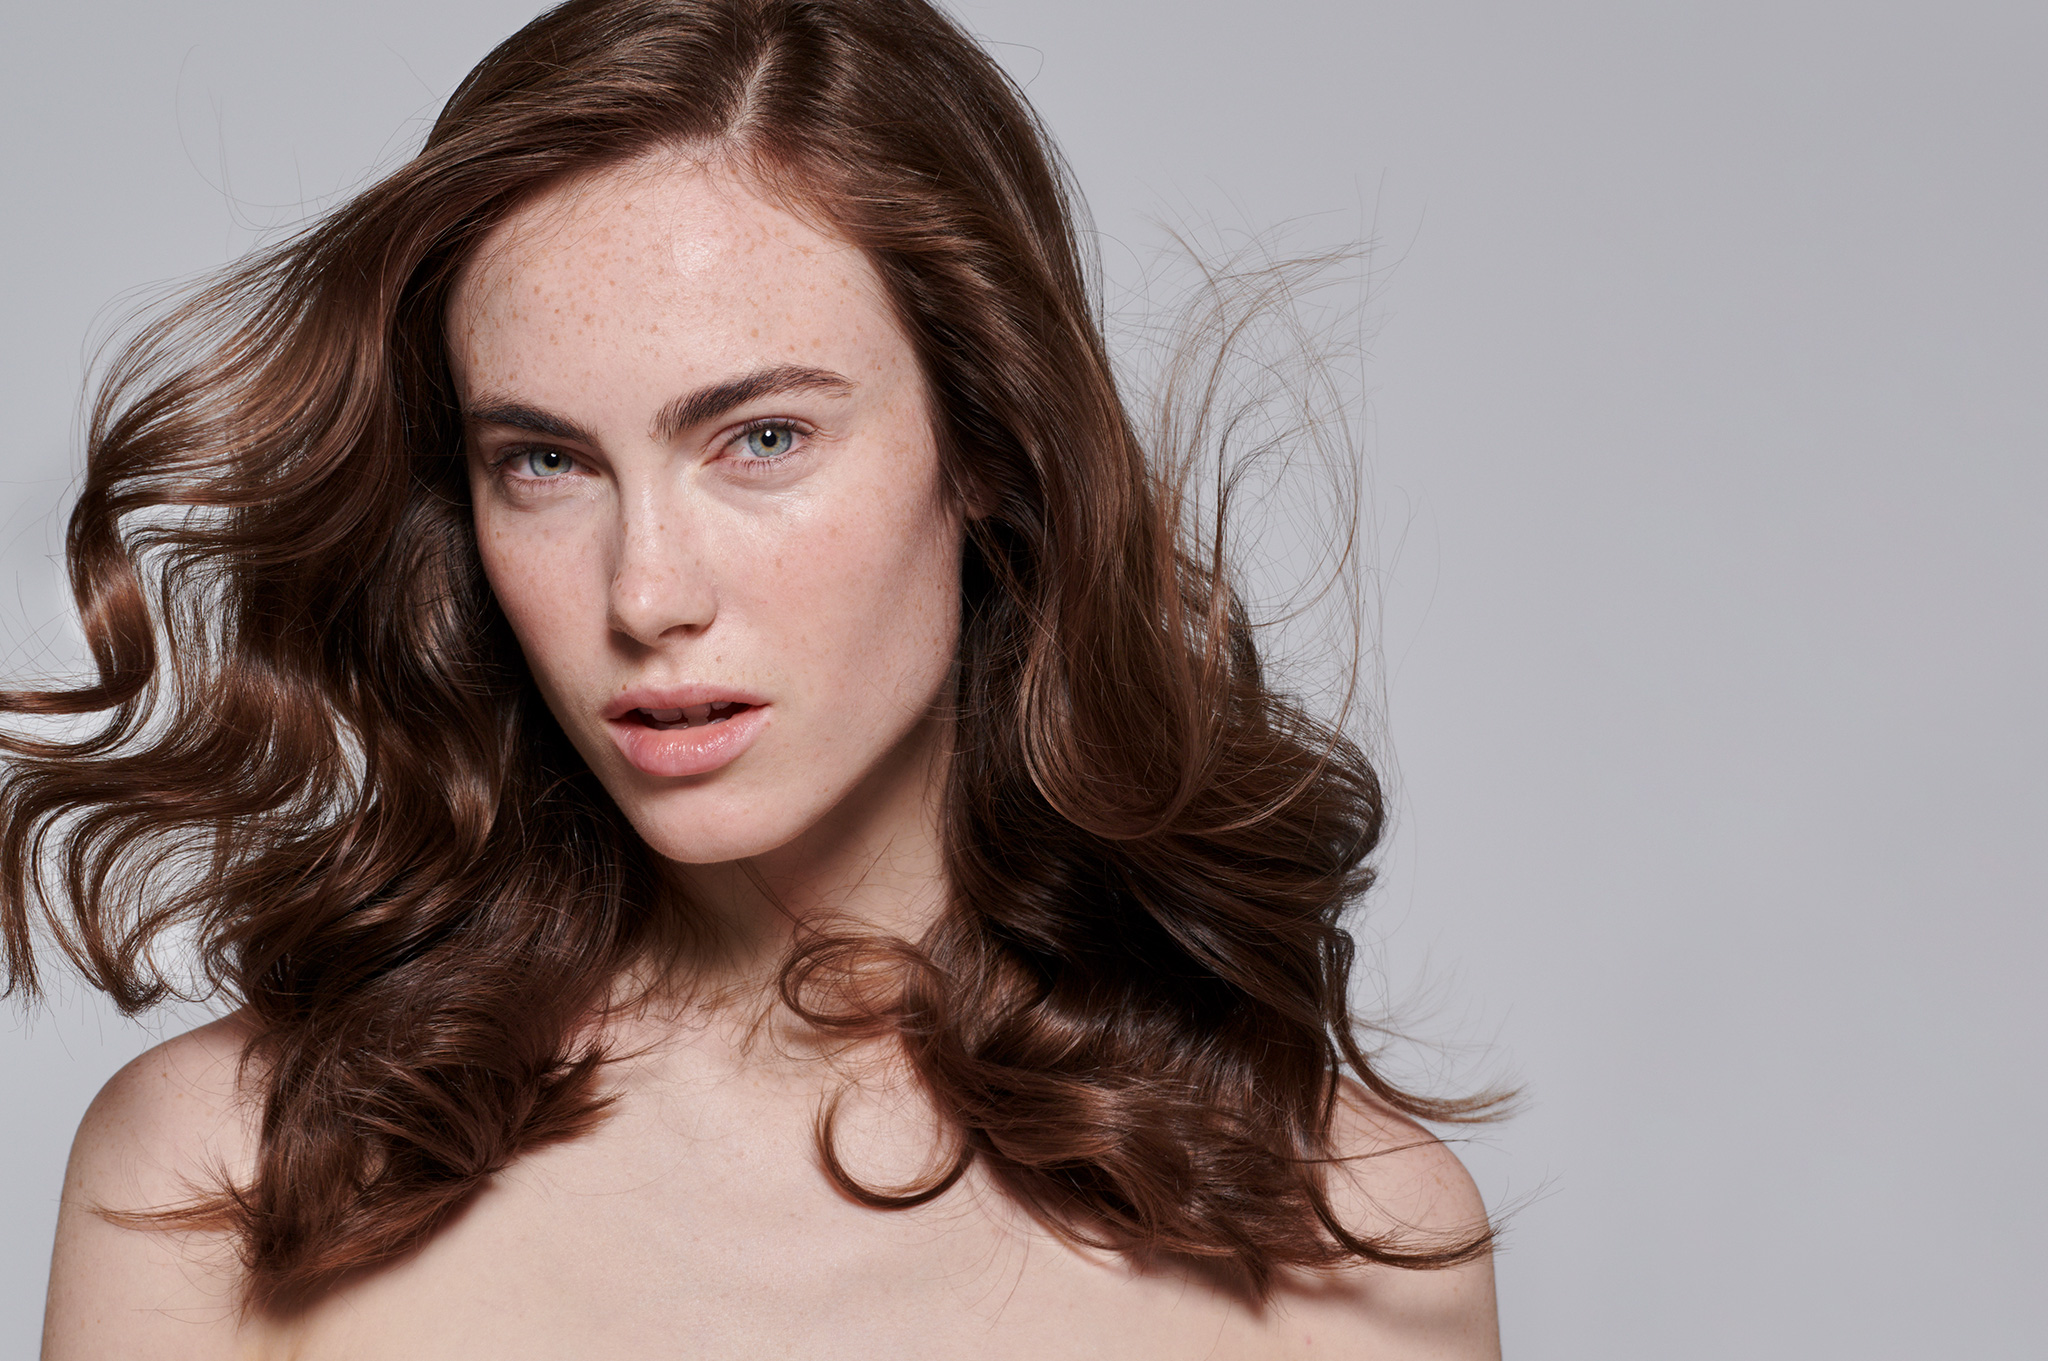
As the maximum amount of control over the image in terms of luminosity, color and grading is always the key to guarantee the best possible result, I make sure that I have a completely non-destructive workflow from start to finish. The best way to achieve this for any commercial retouching project is always a neutral RAW conversion in CaptureOne.
The goal is to get the best out of the RAW file, making sure every tonal range has great detail structure and now colors and tones are blown out and that all color shifts have been removed. Over-sharpening and too much contrast can decrease the quality of the file and provide you with a less optimal base to start your retouch.
second step - markup & notes, background extension, crop
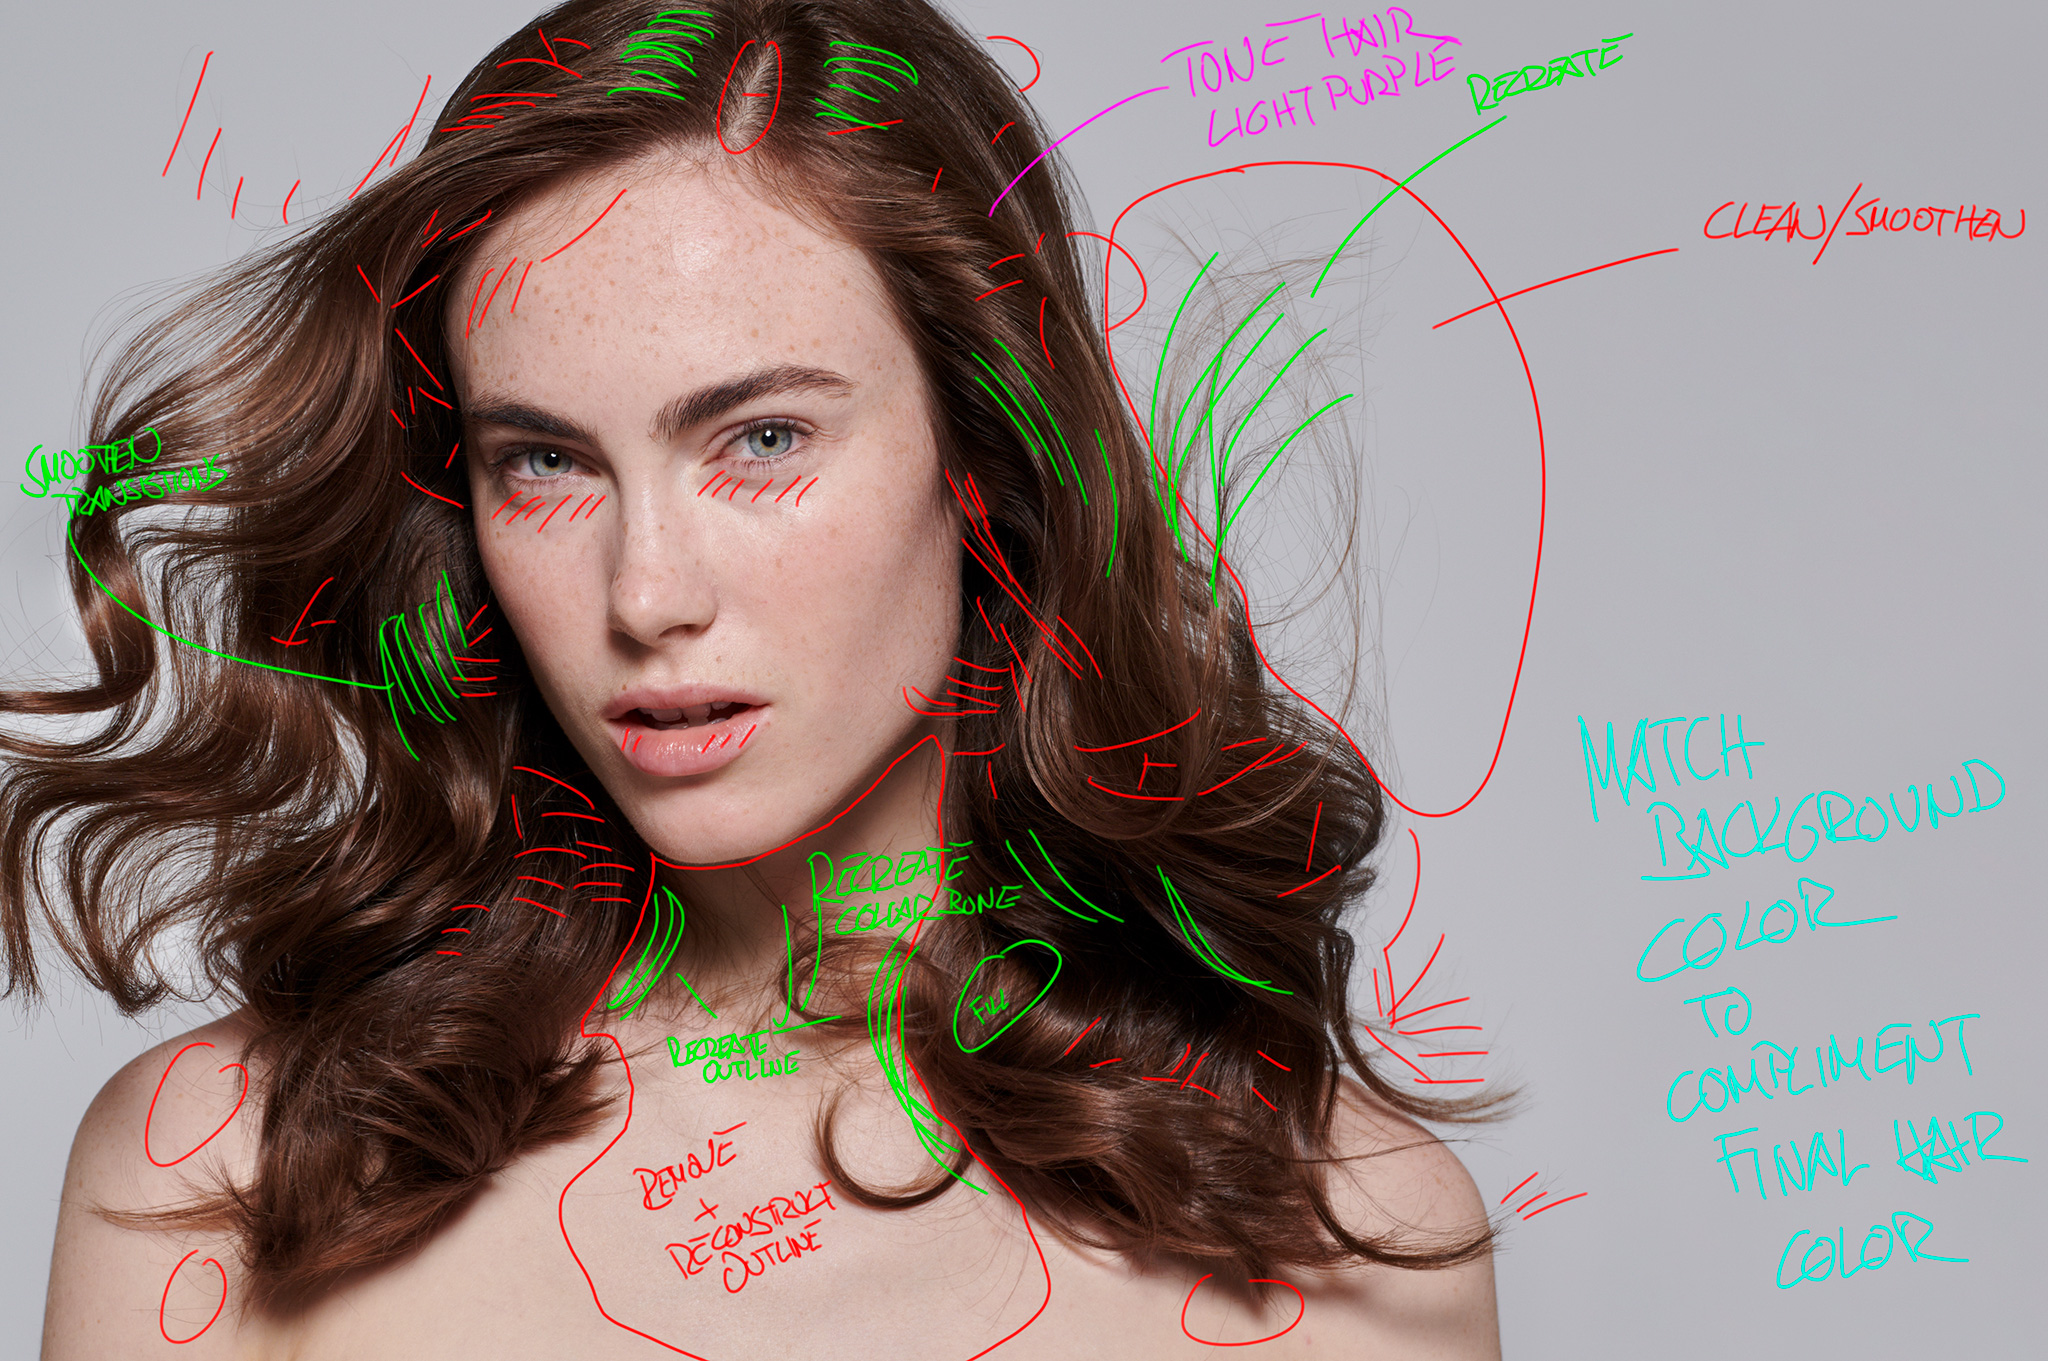
As you can see in the mark up and visual notes, these areas need to be retouched in the prior described way. The crop for the widest format will be chosen as the master crop. The background will be extended as needed.
third step - clean up and dodging & burning
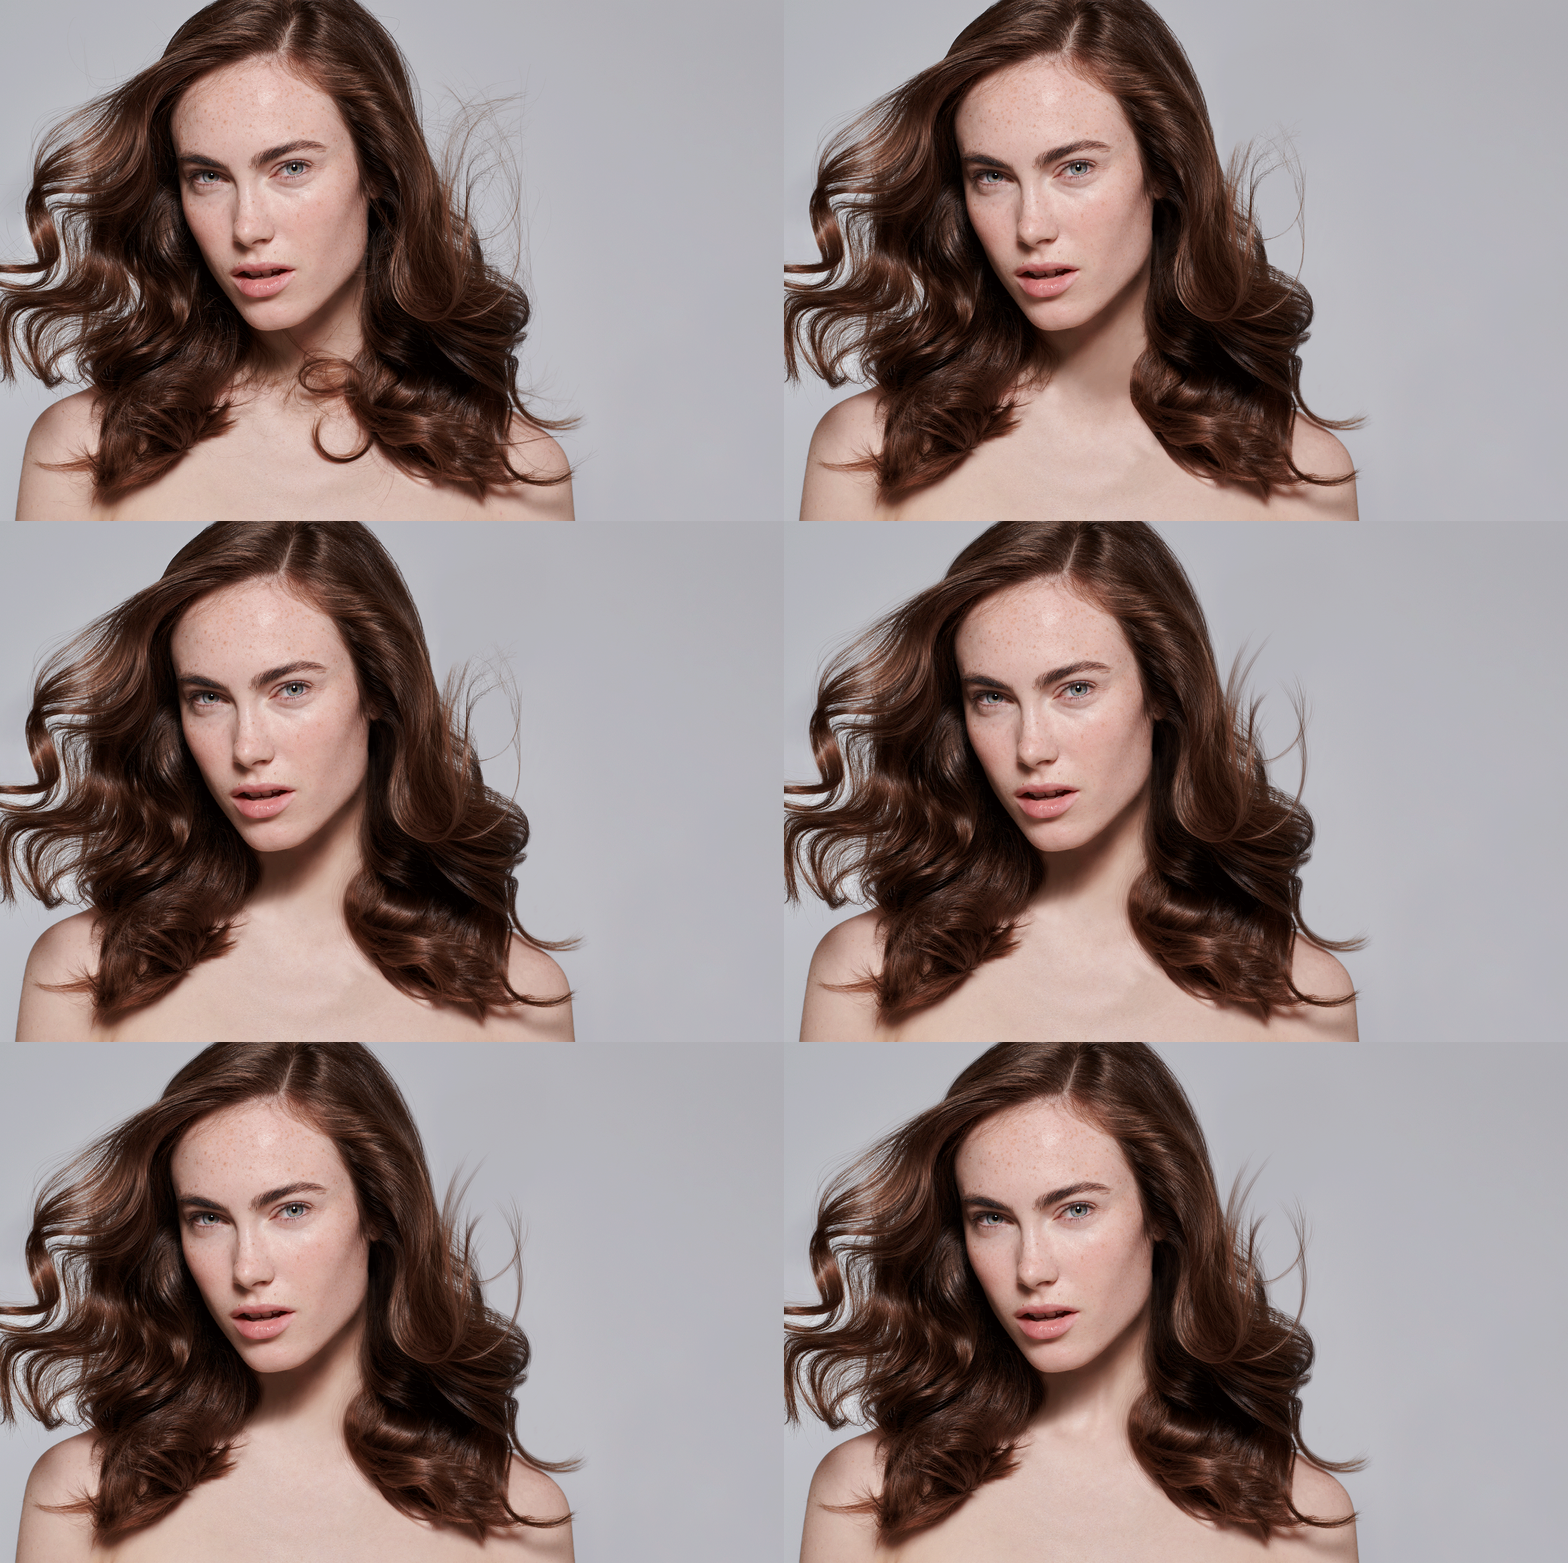
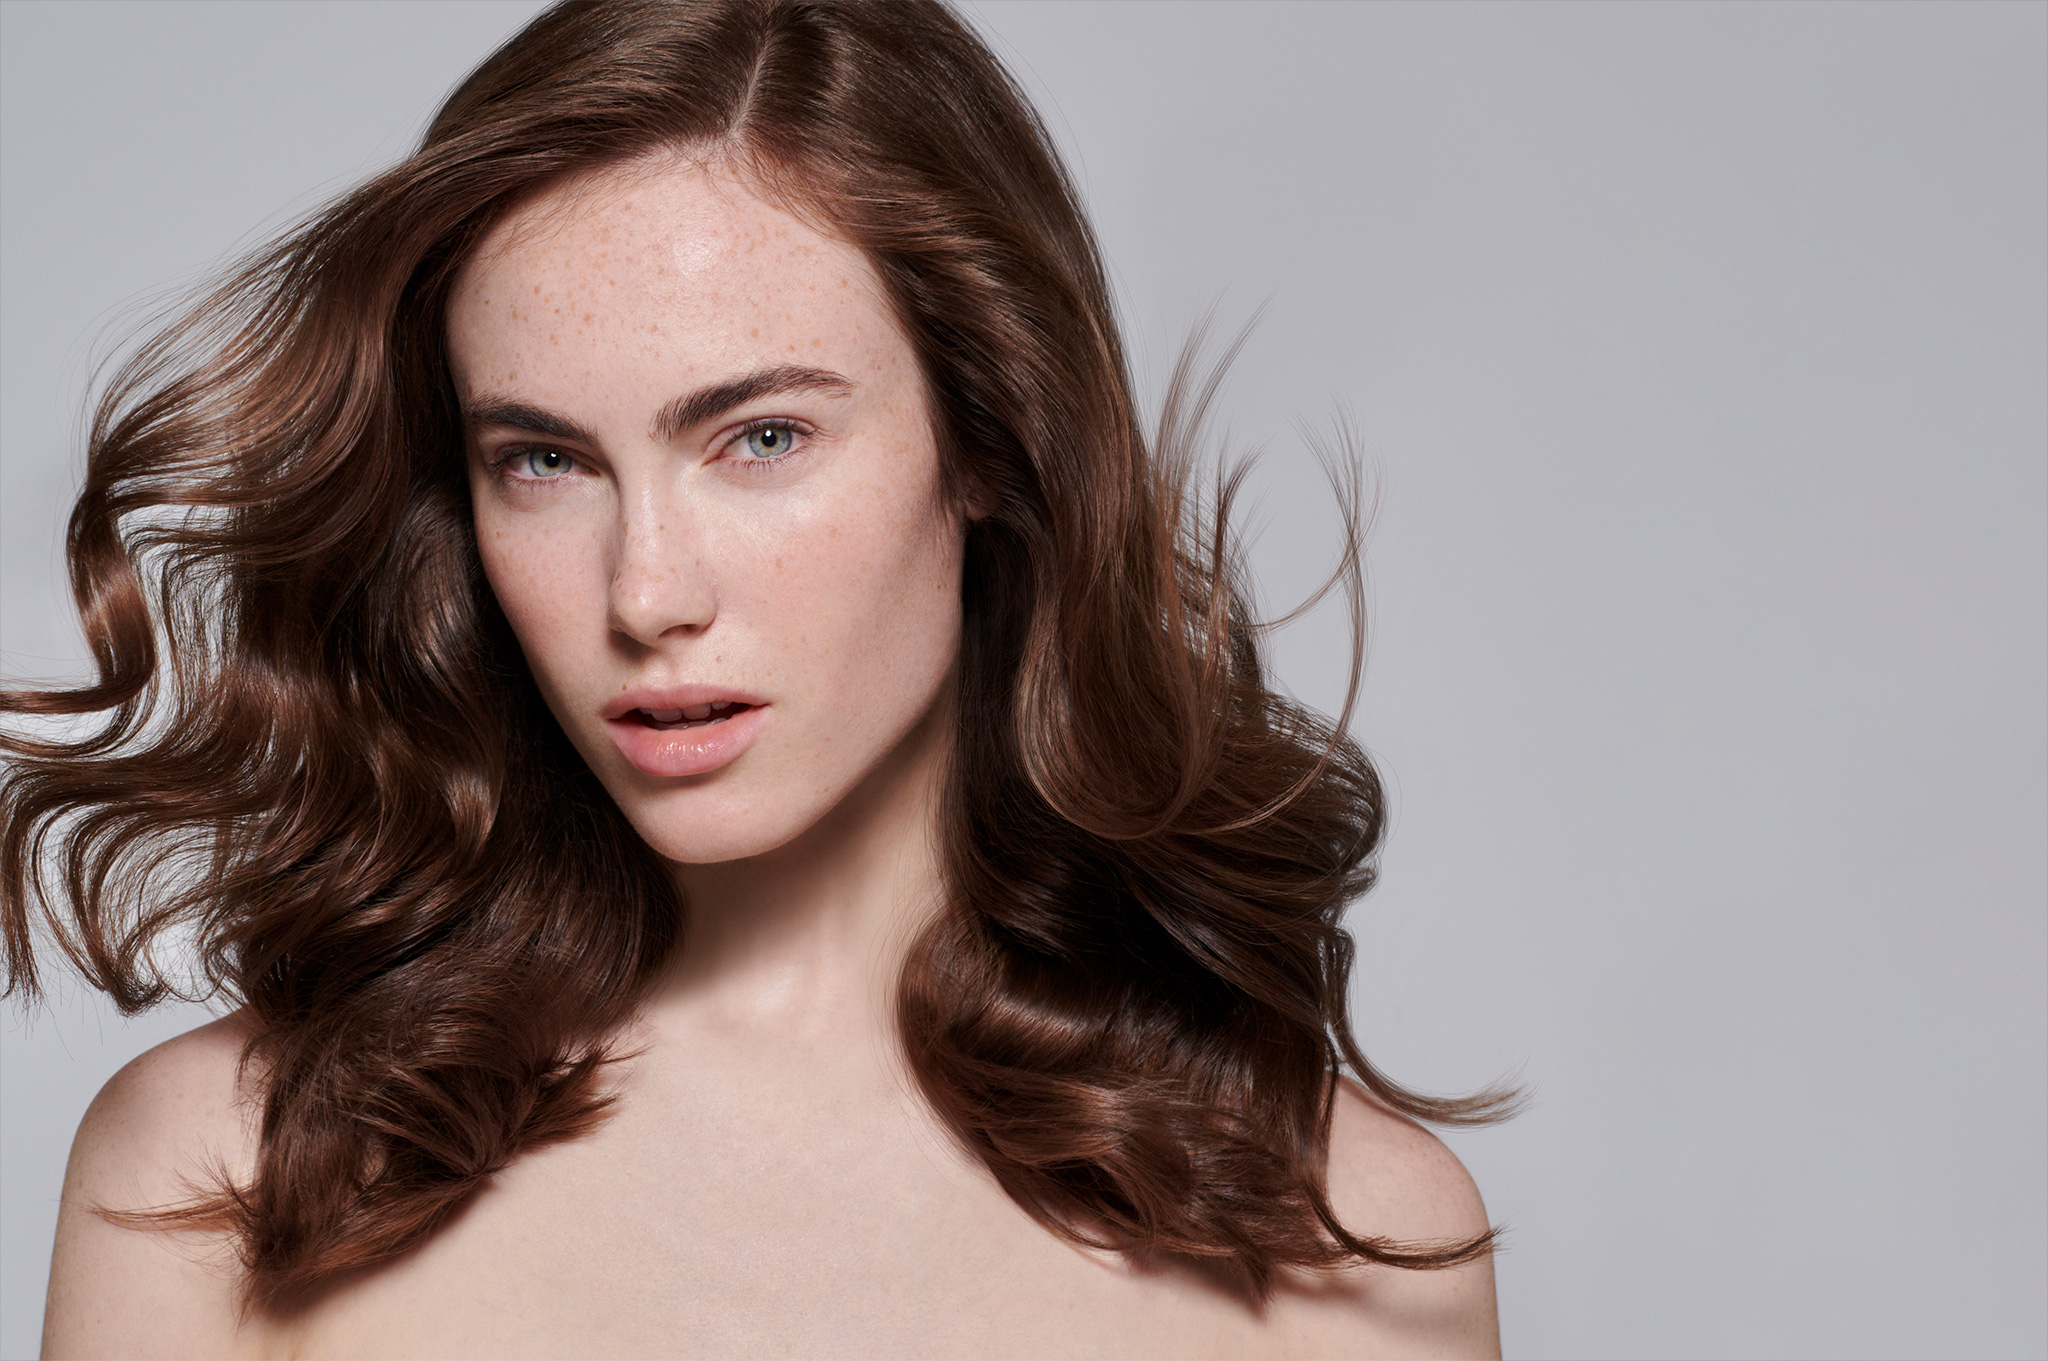
The skin will be retouched in a very natural way, only taking out the texture, that is not smooth and roots in temporary imperfections. With several rounds of dodging and burning, that is painting with light, pores and transitions will be evened out and smoothed, without destroying any texture and while remaining all natural details of the skin.
The outline of the hair will be cleaned and single flying hair, that go into „wrong“ directions will be removed. The flying hair on the right side of the viewer will be cleaned and minimized, so that we will end up with a more clean and appealing hair outline. The same goes for the hair on the neck and collar bones.
Here it is crucial, to recreate the body structure on the neck, wile creating a new and flawless hair outline.
fourth step - precise masking, color correction and color fixes on skin and hair
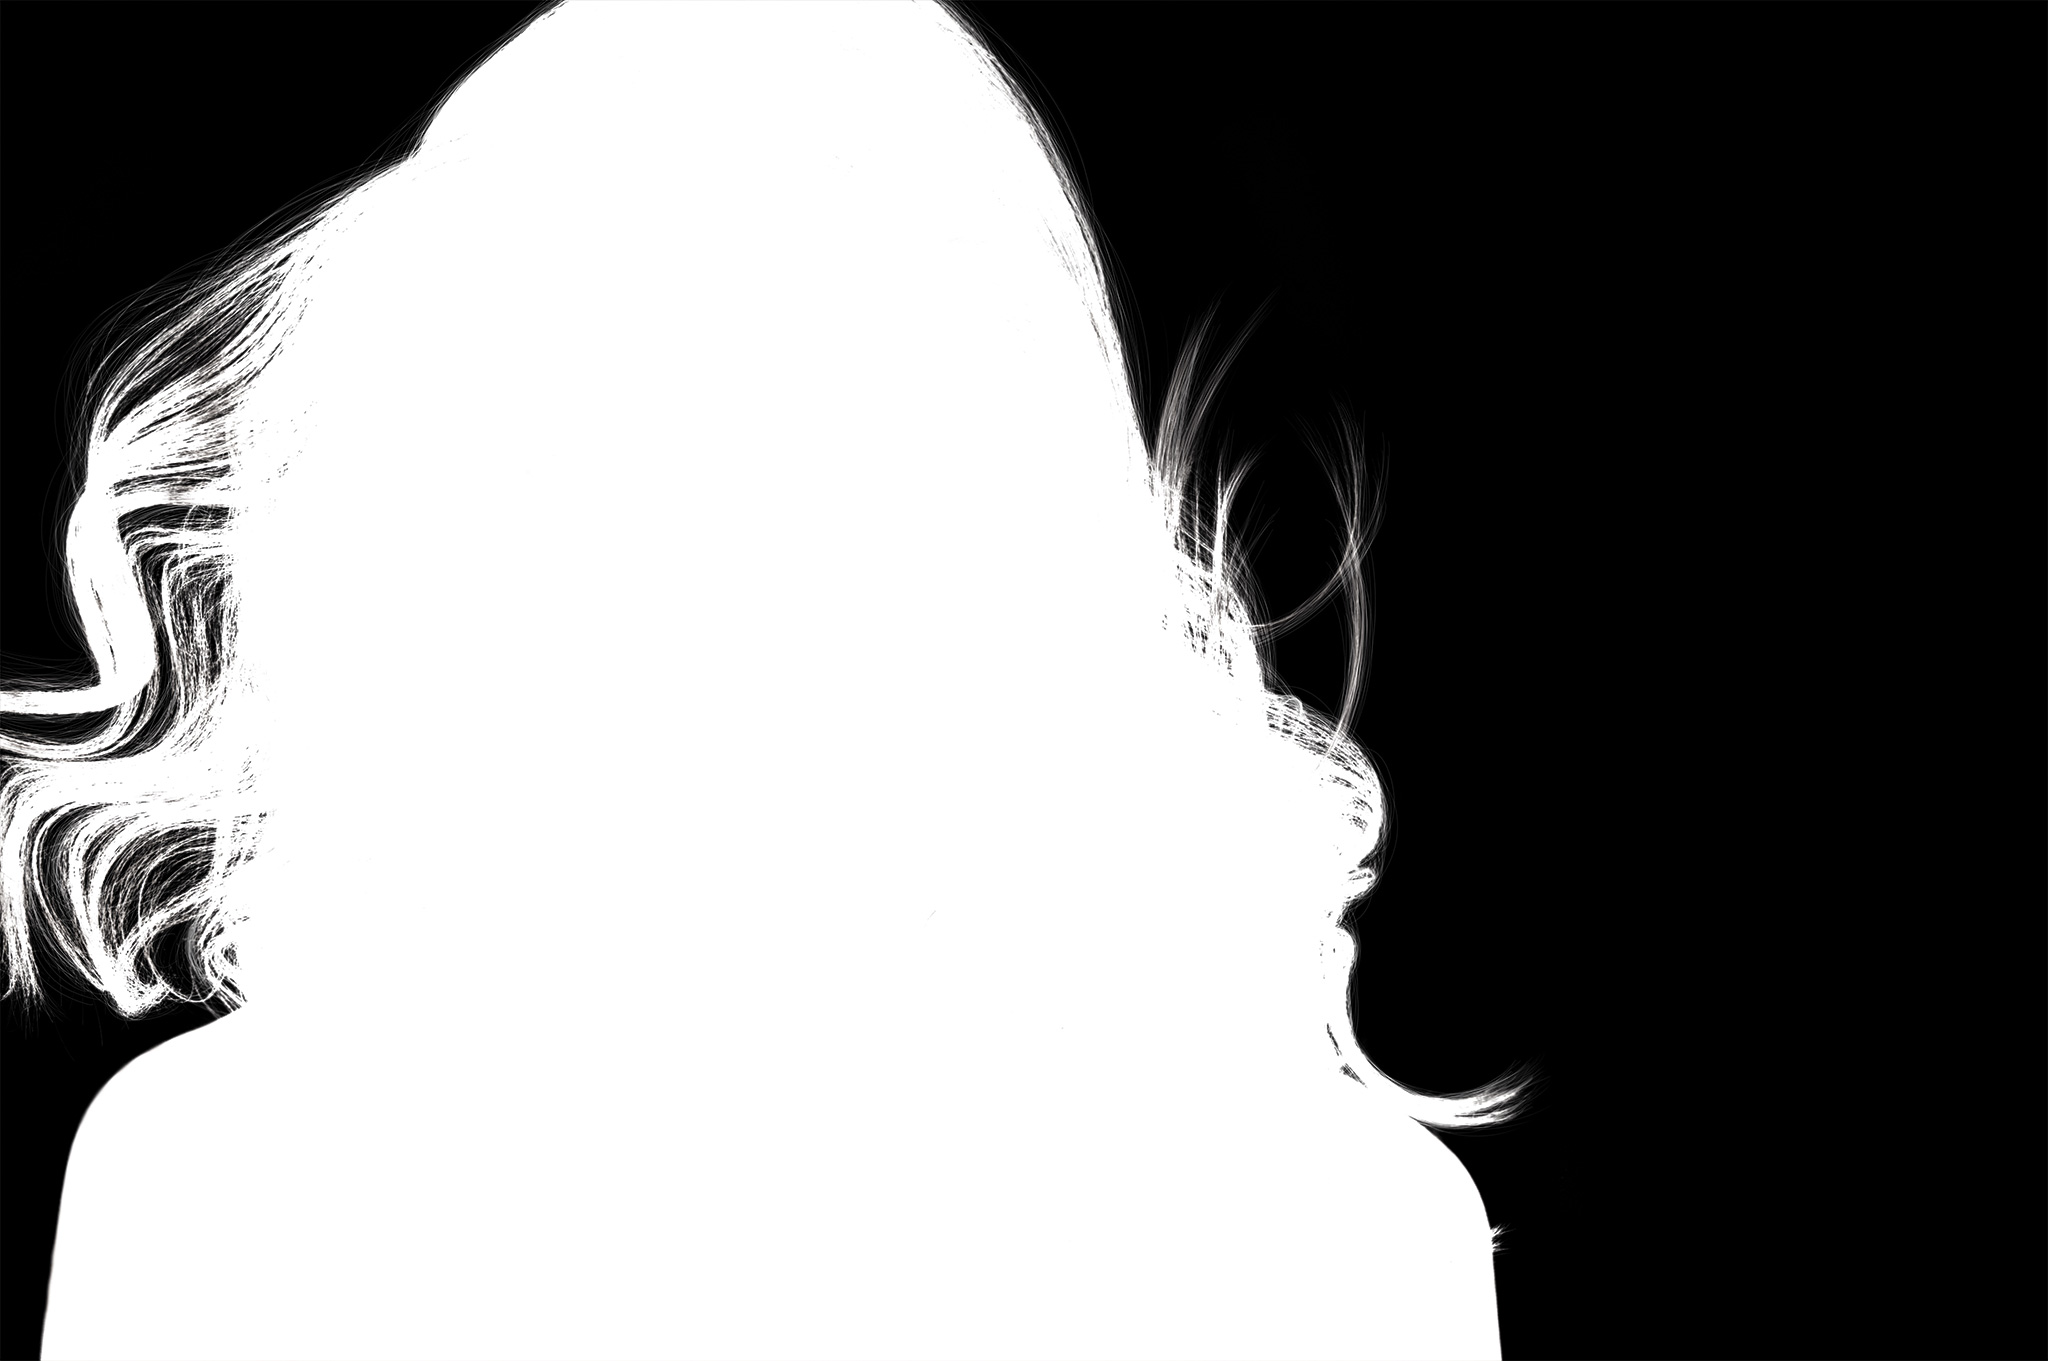
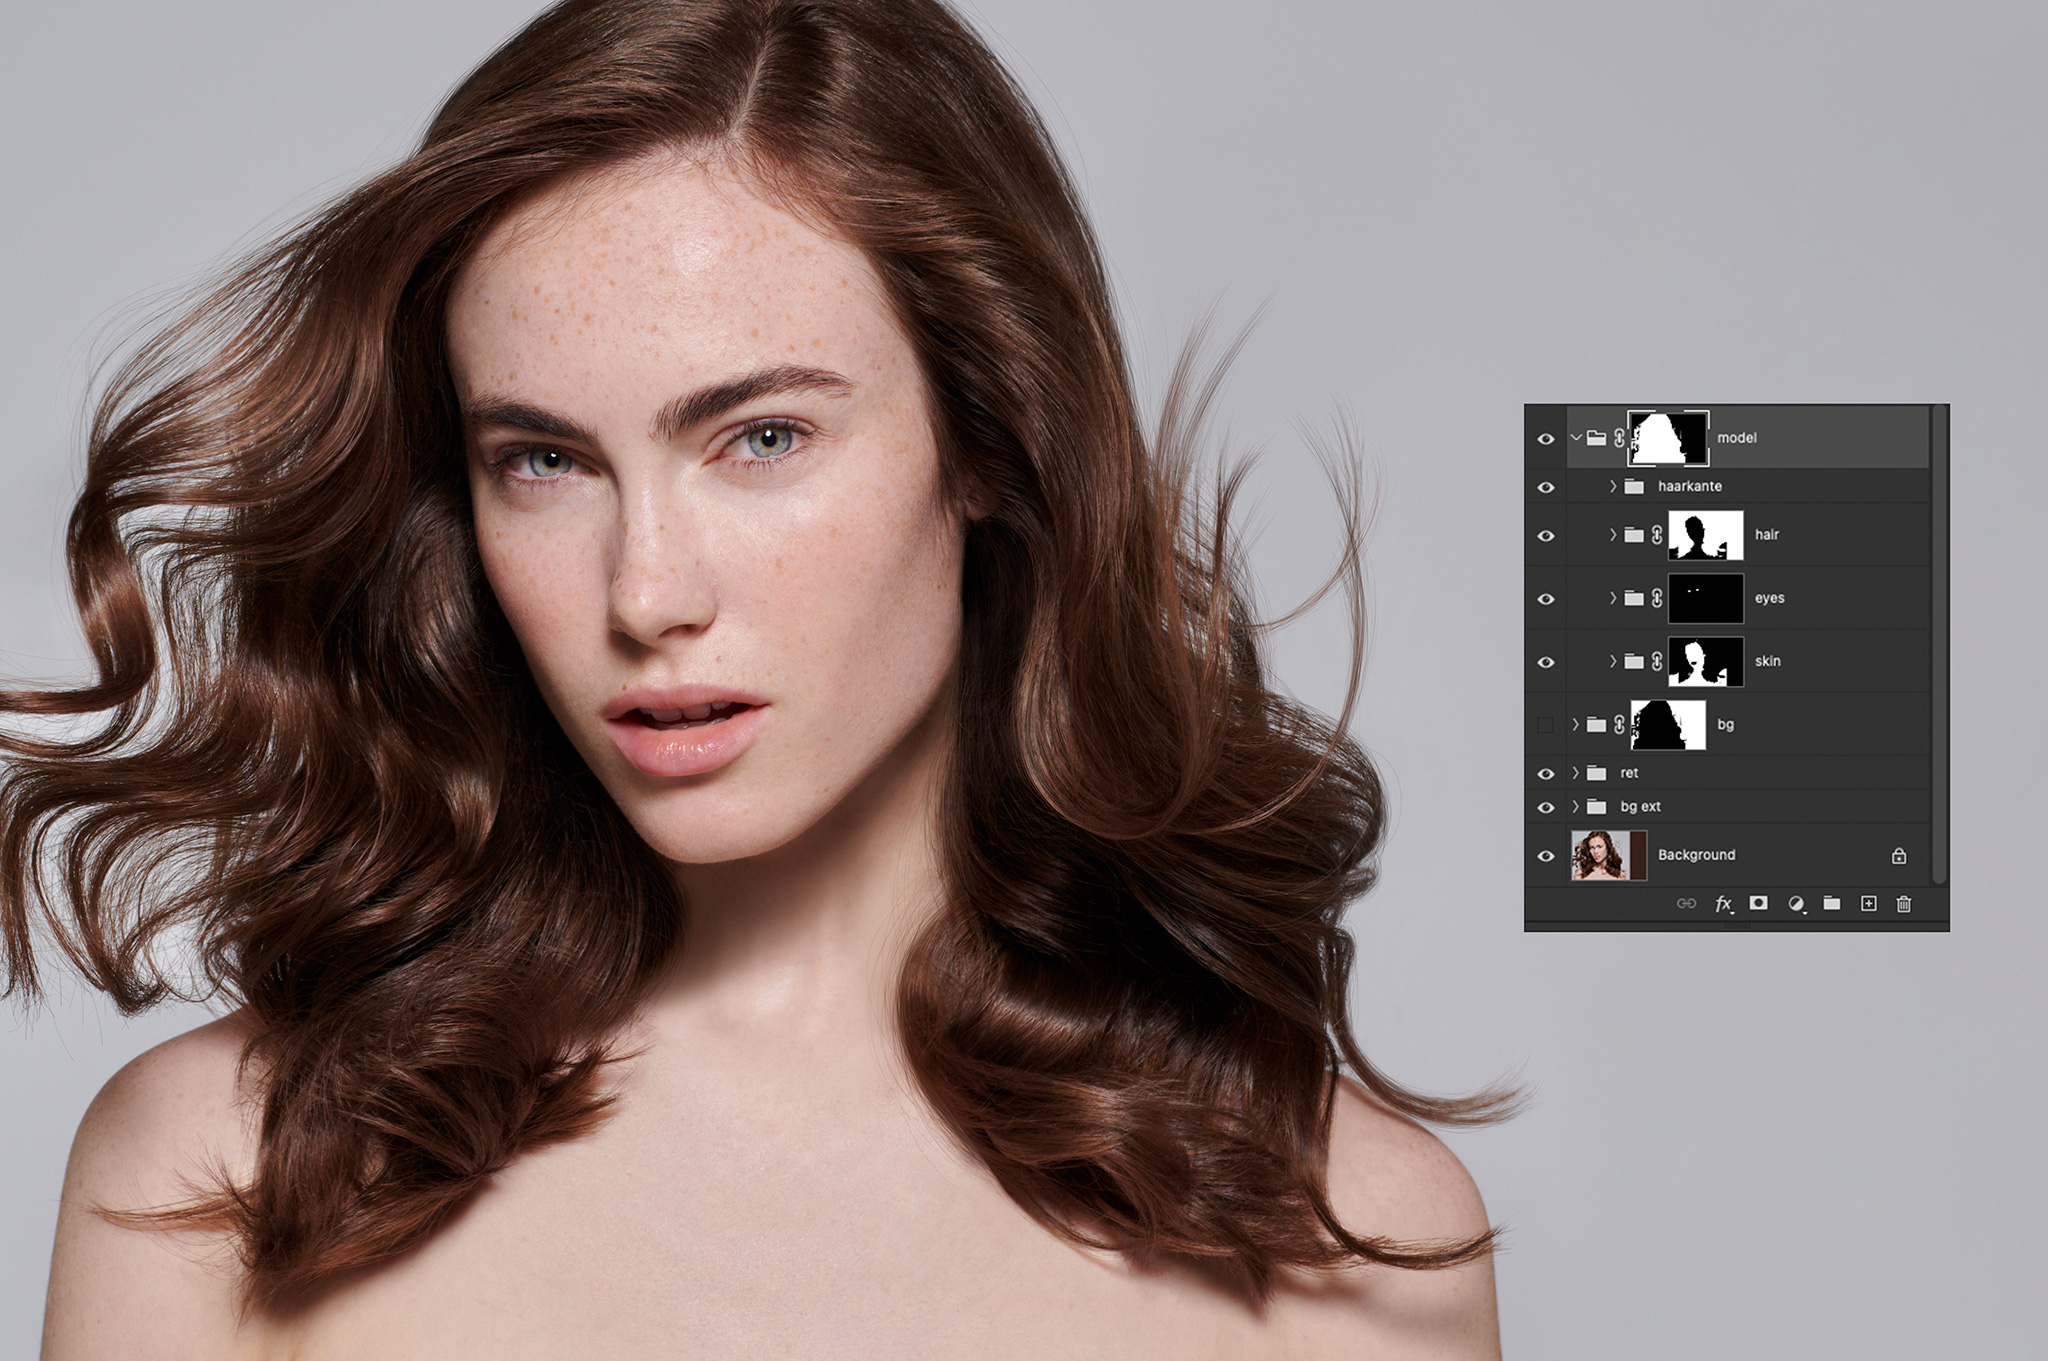
The first essential step at this stage is to create precise masks of the model itself and accurate sub masks of the hair, skin, eyes, mouth, teeth, etc. to guarantee maximum control over every single area of the image.
Now, all color shifts and inconsistencies will be taken care of. The color of the skin needs to be matching the final hair color, in order to give a matching feel to the viewer of the final campaign image. Here, the skin color has been warmed up slightly to go well with the vivid and healthy color of the light purple colorization. The eye color can be slightly adjusted to compliment the final color of the hair.
The hair color is adjusted to match the reference color by the hair product brand. In this case it has been adjusted to a light purple color palette.
fifth step - creating a colorized background to stage the model
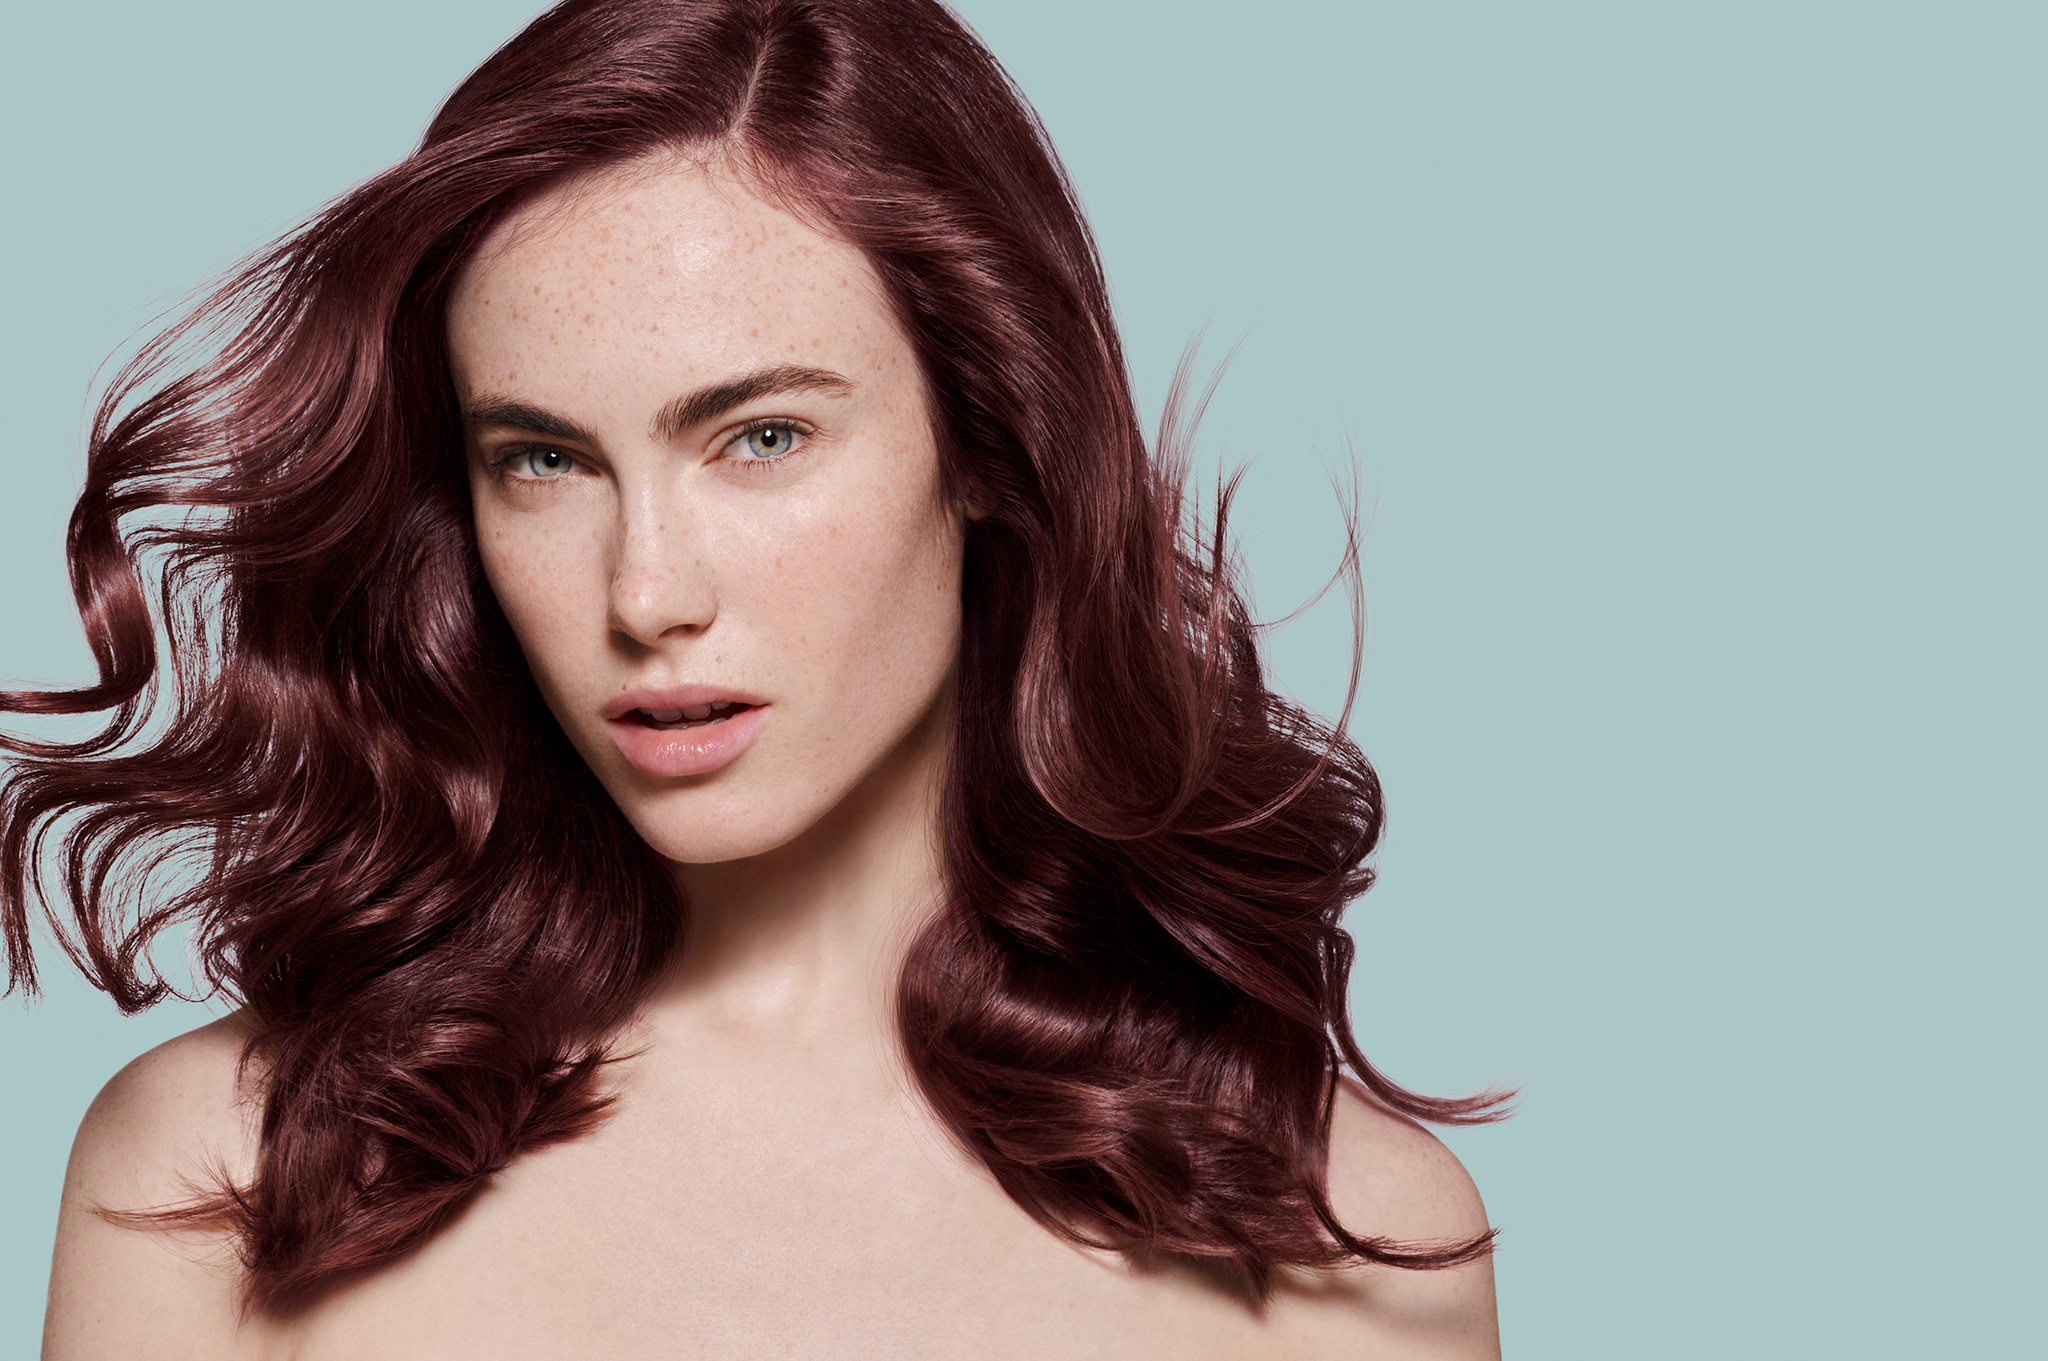
The precise hair and model masks enable me to stage the model on an appealing background for the campaign. In this case a complimentary color to the briefed hair color. Keeping in mind, that several crops and formats will be needed in the final campaign, I am working on the largest crop needed. The advertising agency can take the final final and produce the desired crops from this master file.
sixt step - defringing the hair outline
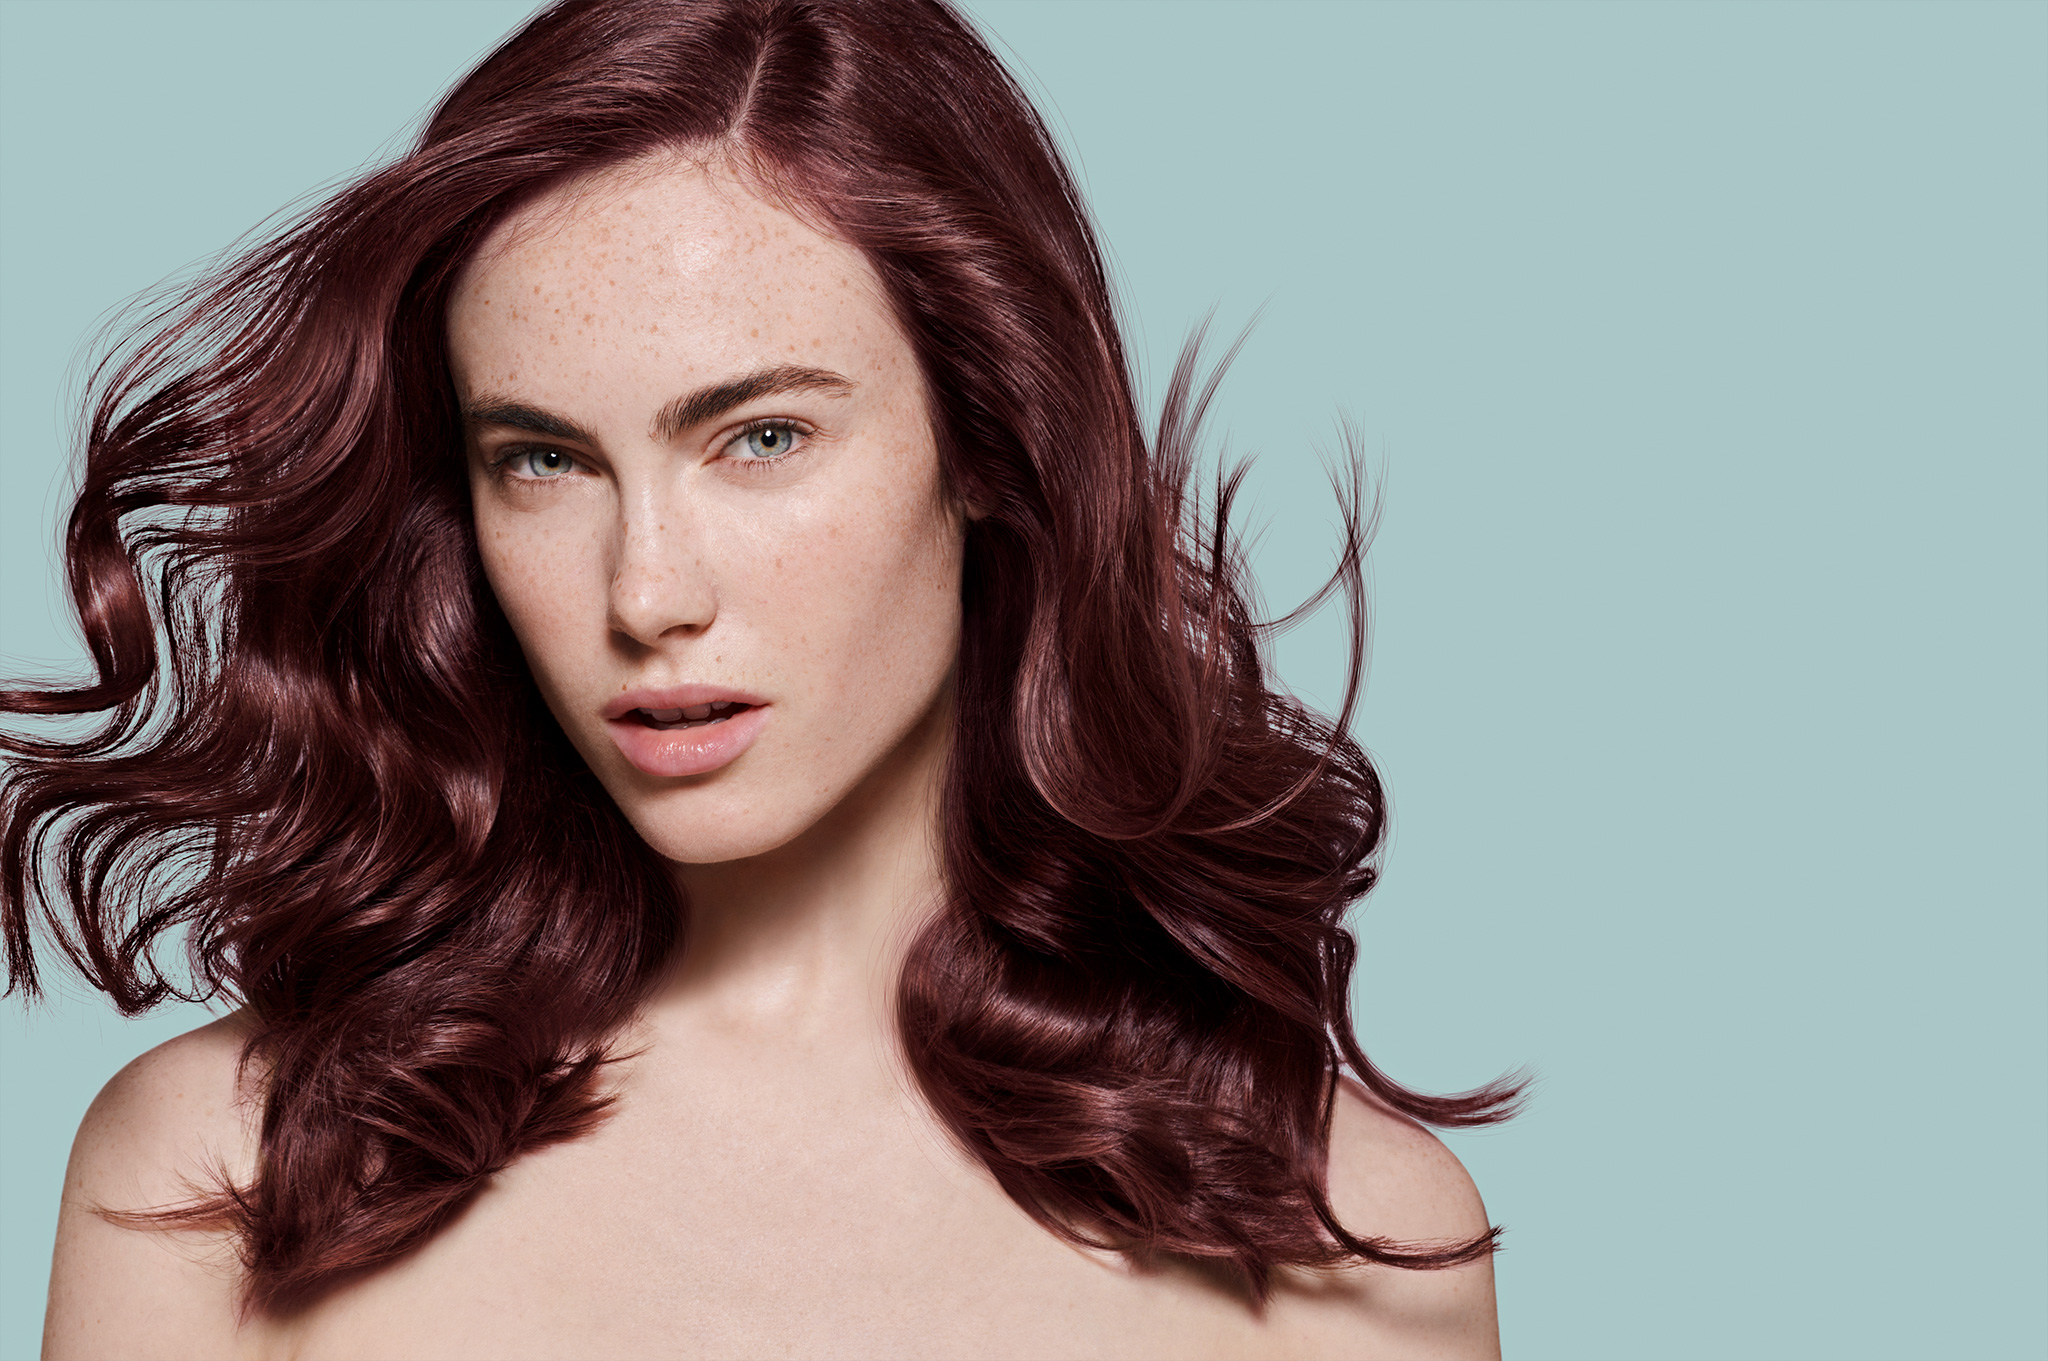
Now, that the final background has been created, it can be necessary to defringe the hair outline. The very detailed and precise hair mask is the key to guarantee a perfect colorization. However, depending on the desired background color and the original background, it is quite common, that the outline must be optimized. Therefor a defringe of the outline using various techniques is the solution to create a flawless and natural result.
seventh step - introducing a flexible and subtle grain finish
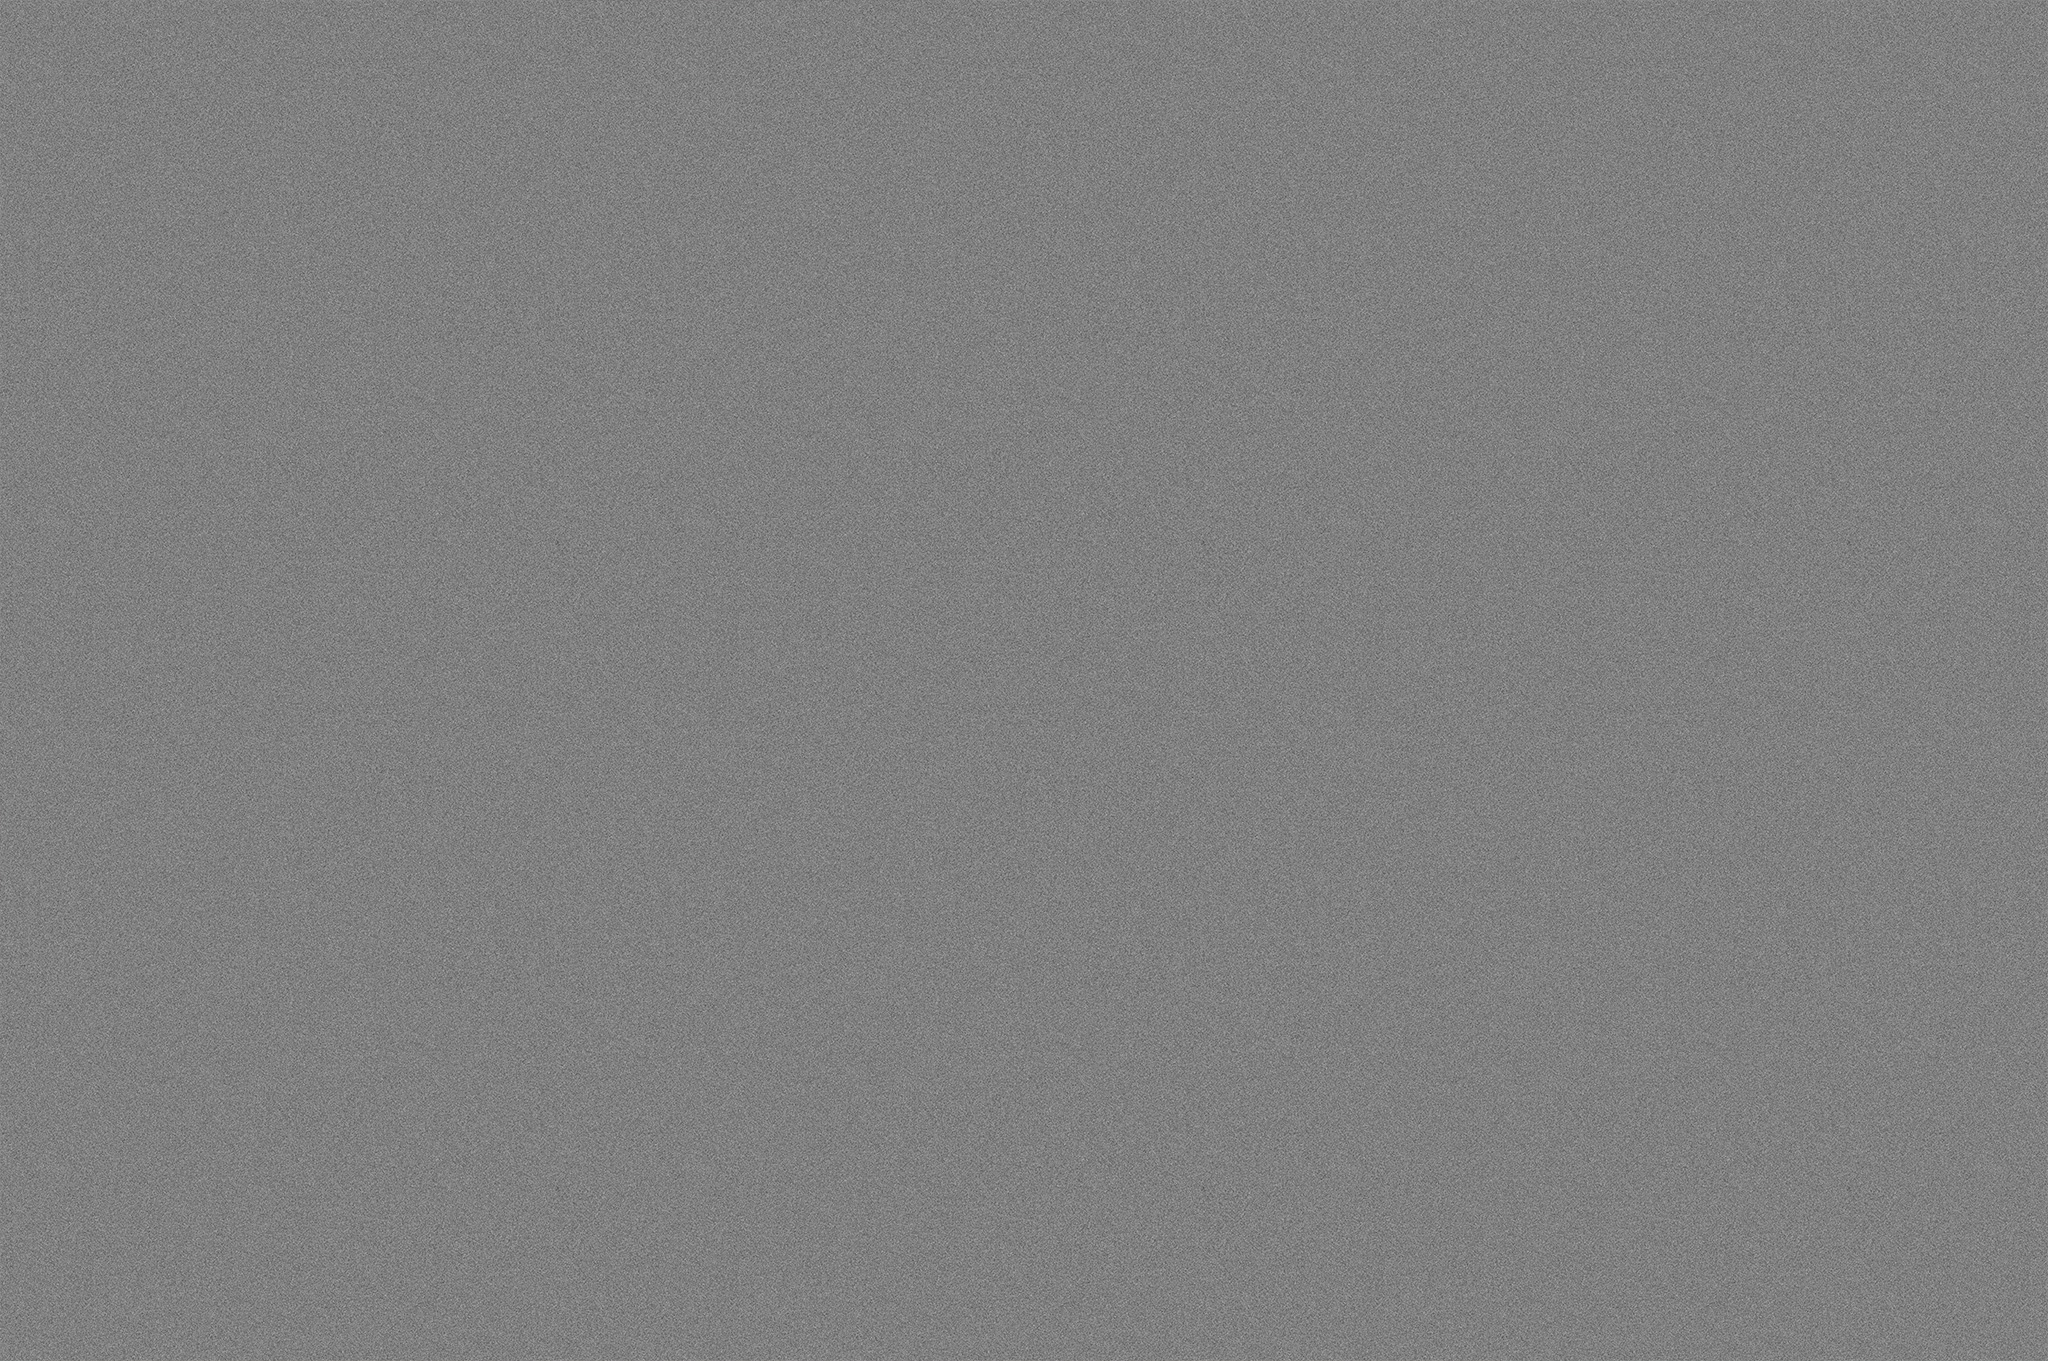
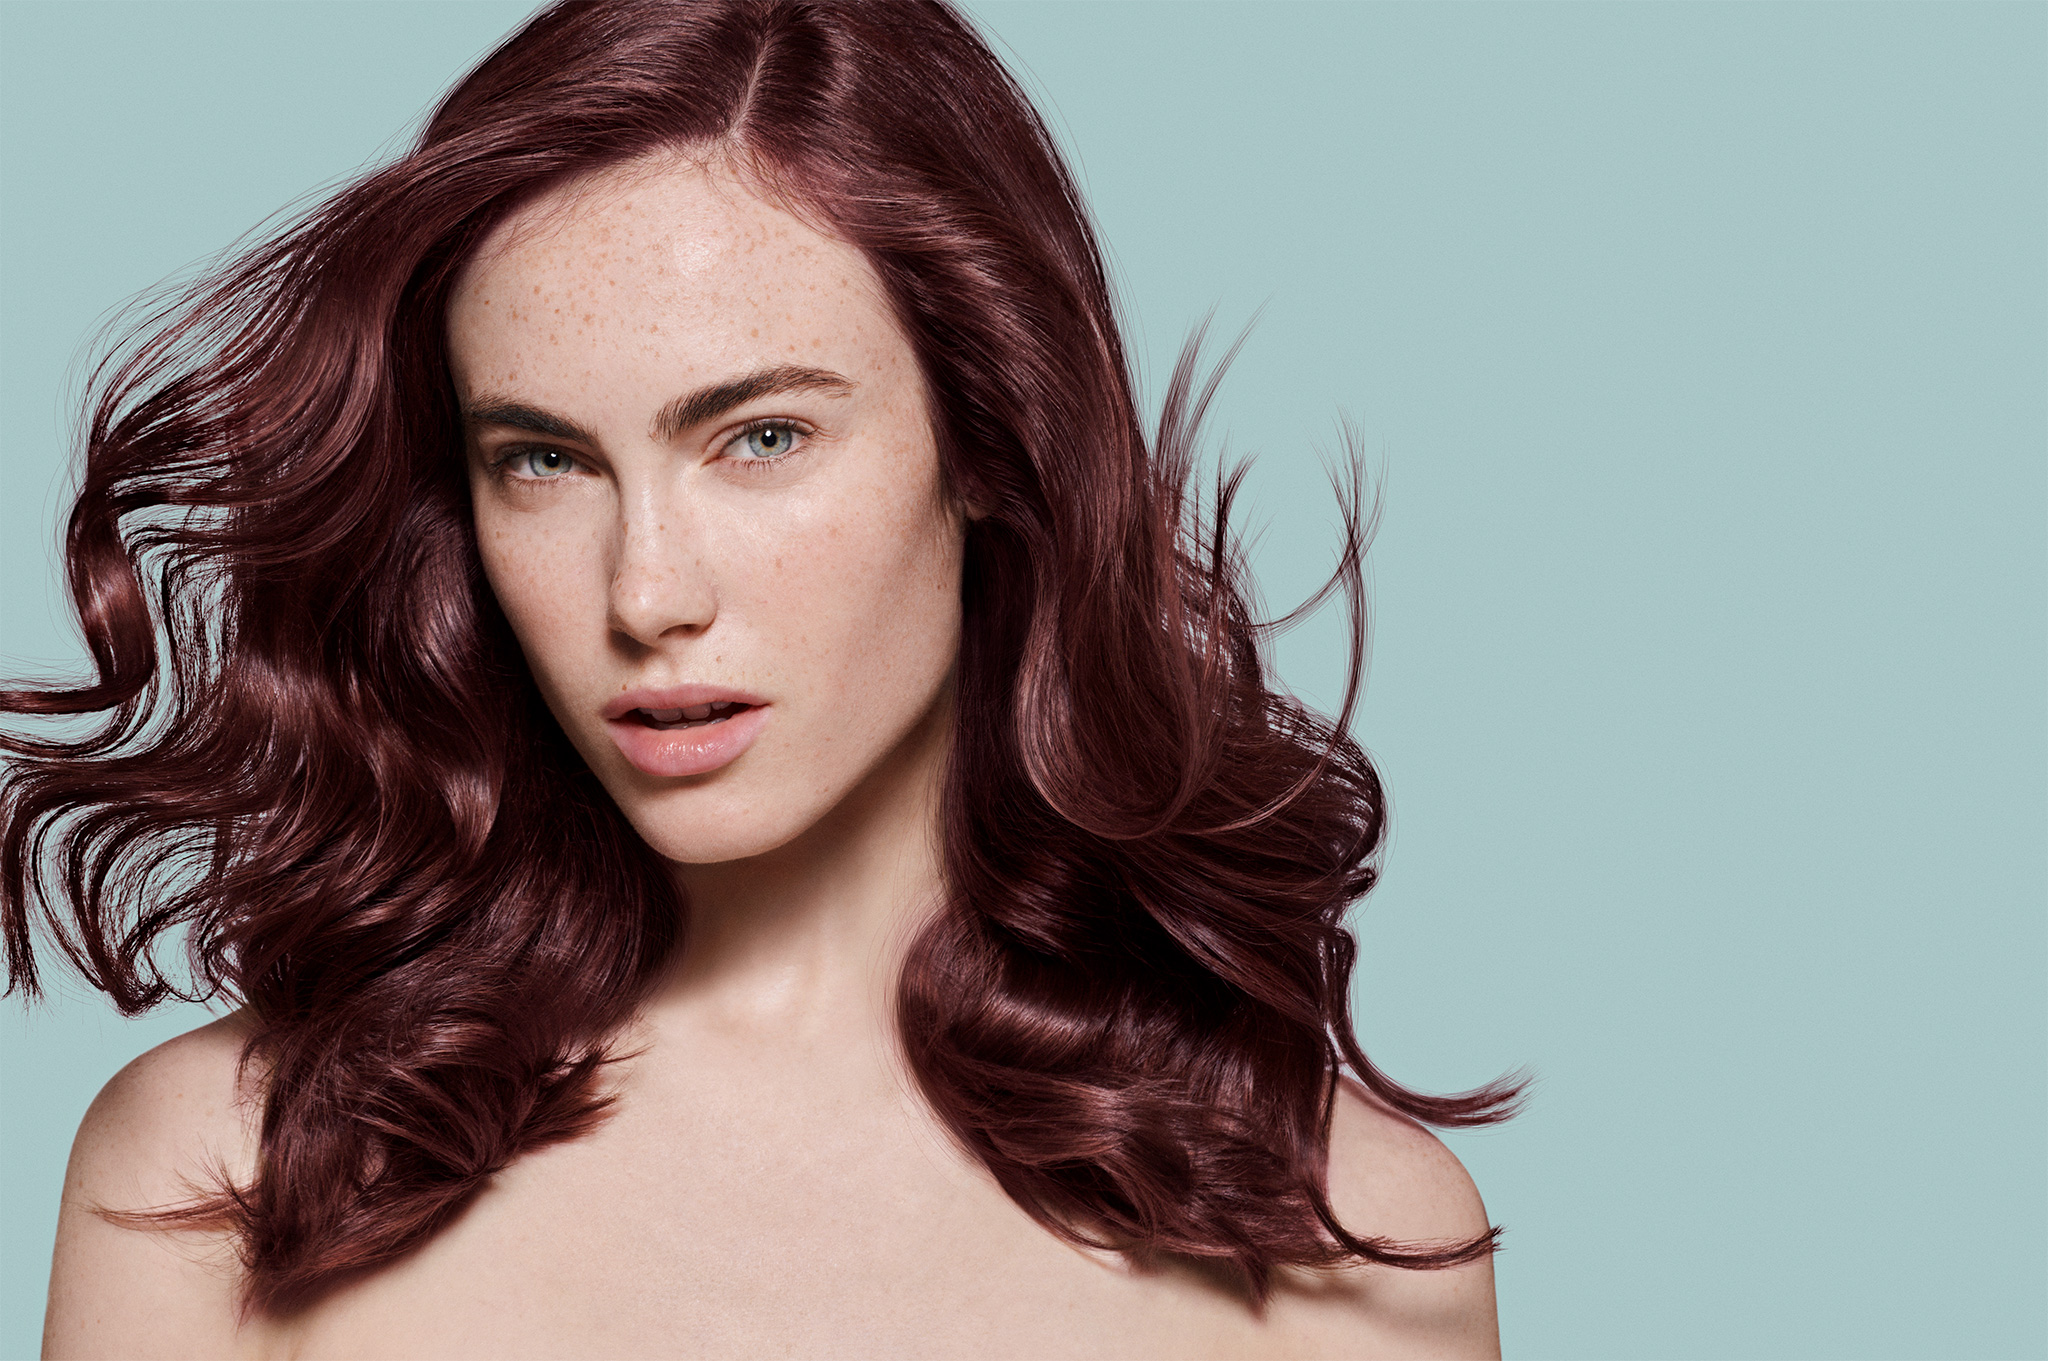
In order to make sure the final composition of the model on the new created background has a natural and convincing look and feel, I love to introduce a very subtle and flexible grain layer, that adjusts automatically to any format change or crop desired. I use my grain patterns on individual adjustment layers, that I have extracted from original analogue film.
Now the file is finished and ready to be prepared for production. Therefor the file will be flattened as much as possible. Usually the background layer and the model layer will be the two layers remaining in the file for further layout work in advertising agencies or with the client directly. A print proof can be created to make sure all colors have the correct values.
